A steamy bathroom mirror and beads of water gathering in shower corners. It’s a familiar scene right after a hot shower, the kind that leaves your towels damp and the air heavy. But lingering moisture in these tucked-away spots can do more than fog up glass—it quietly invites black mold to settle in, testing the limits of every cleaning routine.
Why Black Stains Keep Coming Back
A freshly scrubbed shower often looks flawless, yet days later, dark smudges reappear along joints and tiles. Weekly efforts with bleach or harsh sprays seem to fade stains but never erase them for good. The secret lies deeper—those marks are symptoms, not the problem itself.
Damaged or porous silicone joints become hidden sponges. Warm humidity seeps in, invisible to the eye. Over time, changes in temperature and cleaning chemicals break down the silicone. Microcracks form. Here, moisture lingers, sheltered from air and light, creating an ideal safe harbor for mold to thrive unseen.
Surface Cleaning Isn’t Enough
Spraying mold with bleach might feel satisfying, but this approach mostly whitens the surface. Bleach struggles to penetrate deeply and can actually speed up joint deterioration, increasing vulnerability. The root structure of mold—its real engine—can remain active inside the silicone.
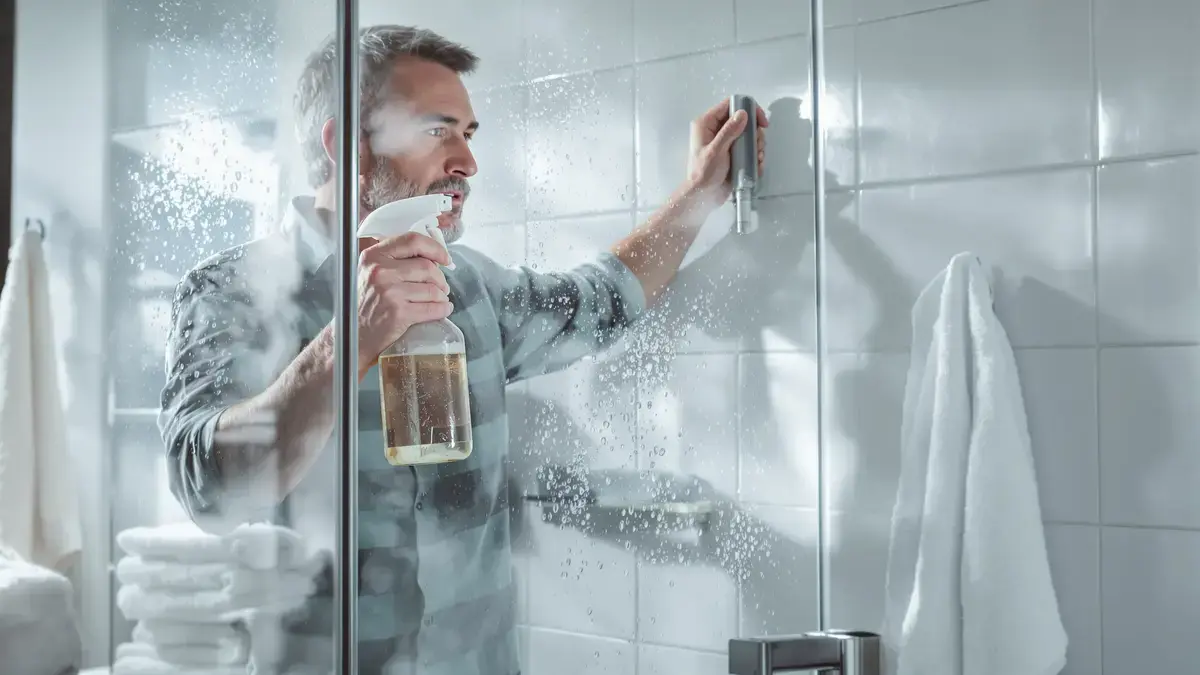
In contrast, pure white vinegar (acetic acid) seeps into these porous spots. Instead of masking, it disrupts mold growth at the source, lowering surface pH and making new colonization harder. Vinegar is safe for regular use and doesn't aggravate the air we breathe. A daily habit: mix vinegar with warm water, add tea tree oil if desired, and spray onto the joints after the day’s final shower. Wiping with a squeegee removes lingering droplets, leaving surfaces less inviting for spores.
The Game-Changer: A Five-Minute Annual Check
It's not the daily rituals or expensive chemicals that truly break this cycle—they help, but the critical move comes once a year. In the peak of winter, when condensation quietly builds, a brief inspection of bathroom joints changes everything.
Run a finger along the silicone edges. Any dry, cracked, or detached sections? Persistent black stains that survive your best efforts? These signs mean the underlying barrier has failed and must be replaced. Installing new silicone over the old is a common mistake; trapped moisture quickly restarts the cycle.
How to Replace Joints: Simple Yet Overlooked
Cut away all aging silicone with a utility knife, taking care to leave the area completely clear. Wipe down with vinegar to dissolve residues and use a hair dryer to remove invisible moisture. Only after everything is dry should new sanitary silicone—one with a built-in fungicide—be applied.
Glide over the bead with a soapy finger for a seamless finish. This new line acts as a shield, directing water away and sealing off any passage for mold.
Breaking the Mold Cycle for Good
When daily vinegar care meets this yearly joint renewal, the bathroom environment transforms. Mold struggles to take hold, odors fade, and hidden water damage doesn’t have a chance to start. Rooms stay warmer, healthier, and free from the slow sabotage of lingering dampness.
A five-minute inspection each year defuses problems before they grow. In the end, it’s a small, almost invisible detail that protects an entire home space—proof that invisible maintenance delivers the most visible results.