On a chilly winter morning, stepping into a steamy bathroom, you might spot thin gray lines snaking between tiles. These patches seem to deepen after every shower, turning the grout beneath your feet almost black. Restoring these lines to bright white can feel like a losing battle, but a small change in method may finally tip the odds.
The Real Reason Grout Turns Dark
When showers run hot and the windows stay closed, humidity settles into every corner. Cement-based grout beneath tiles acts almost like a sponge, soaking up water, soap, and fine dust. Over time, bacteria and mold find this damp mix ideal, forming a thin but stubborn biofilm that stains grout gray or black.
The Temptation of Harsh Cleaners
Many reach straight for chlorine bleach and scrub brush, chasing instant results. Bleach certainly whitens grout quickly, its fumes drifting through the bathroom. Yet, these strong chemicals begin to erode grout’s surface, making it rougher and more porous. Soon, it traps even more dirt and grows darker again.
A Different Approach: Gentle Four-Ingredient Mix
Instead of fighting dirt with force, a simple home solution cleans grout without harsh fumes or long-term damage. The stars of this DIY cleaner: baking soda for gentle scrubbing, hydrogen peroxide (3%) to lift stains and kill mold, a drop of dish soap to loosen grease, and a splash of warm water for texture. Together, they react slightly, fizzing just enough to tackle stains at the surface.
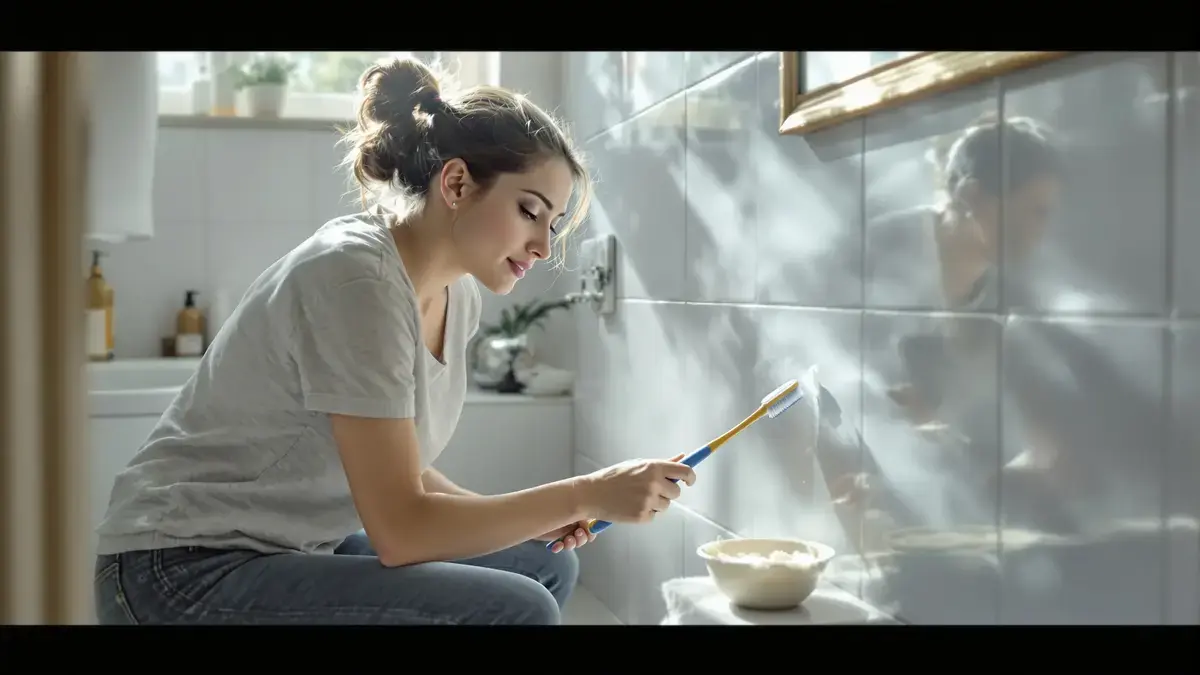
Making and Using the Solution
In a small bowl, sprinkle in two tablespoons of baking soda. Add 100 ml of warm water, then pour in 100 ml of hydrogen peroxide, followed by a few drops of dish soap. The mixture bubbles softly, thickening into a paste. This goes directly onto dry grout, brushed in gently with an old toothbrush. Let it sit for about 15 minutes—no need for muscle. After a quick scrub and rinse, most lines look brighter.
The Mistake That Undermines Success
Relying on aggressive cleaning agents, either before or after gentle treatments, heads off progress before it begins. Using bleach or ammonia can damage grout’s structure, undoing the benefits of more balanced care. Some materials—even marble, colored grout, or silicone—can react poorly to the home blend as well; it’s wise to test first, and avoid where needed.
Keeping Grout Bright, Beyond the Quick Fix
To keep the freshly bright look, a few small habits matter more than any product. Wipe down damp tiles with a squeegee after showers. Ventilate the room whenever possible. This gentle cleaning mixture only needs to come out once or twice a year, at the earliest hints of gray.
A Subtle Shift in Routine
Grout is less a battleground and more a barometer of everyday life. By thinking of it less as a tough opponent and more as a material in need of regular, gentle care, the struggle to keep bathrooms bright becomes easier—and a lot less harsh on the senses.